Tables
 Version 1.0.5
Tables store values that don’t easily fit in the rows and timeline grids of a sheet in Parfera, and are often used to store existing data that the model needs to reference. Table cells hold any numerical value. Each cell in a table is treated like a variable, with its name following the format “Column name – Row name”. Tables can be referenced with tags. Tables are shown on a dedicated Tables tab at the bottom of the screen.
 Version 1.0.6
Create a table
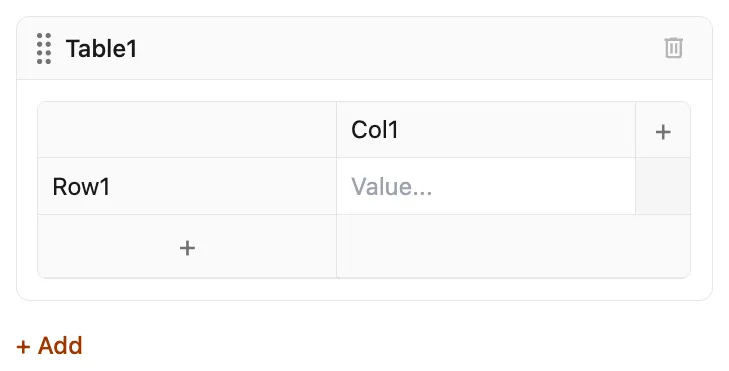
Section titled “Create a table”To create a table, click the Table button on the elements tab in the ribbon or navigate to the Tables tab and press the + Add button. The new table will appear below any existing tables.
 Version 1.0.6
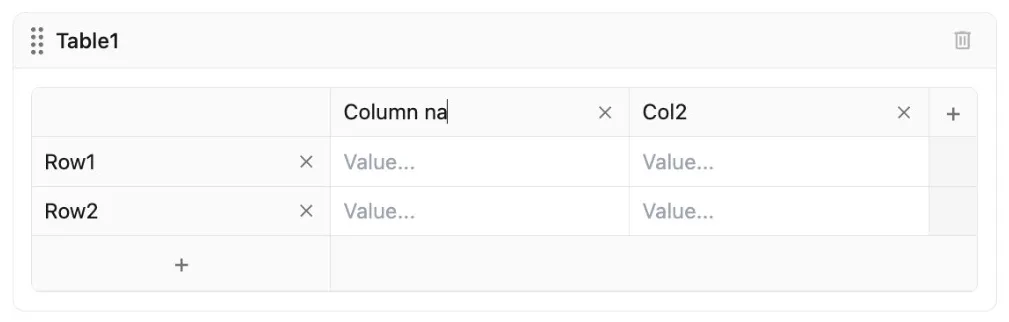
Add rows and columns to the table by clicking on the + buttons below the last row header and to the right of the last column header. Alternatively, pasting an array of values into the table will cause the necessary number of rows and columns to appear.
Each row and column header appears with a default name (e.g., Row1, Row2, Col1, Col2, etc.). The table is also named in the header bar above the cells. Edit any name by clicking and typing in the new name.
 Version 1.0.6
Enter values
Note: As of version 1.0.4, table values are all treated as raw numerical values equivalent to the # unit type.
Edit a table
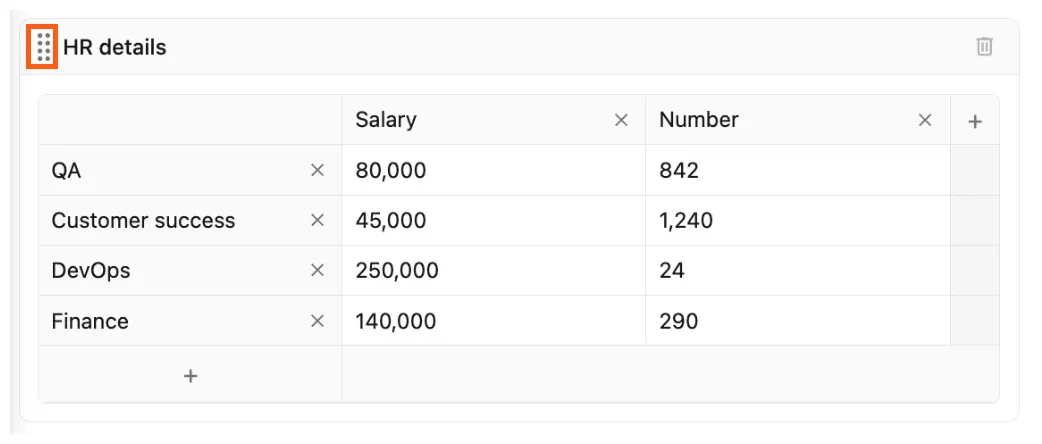
Section titled “Edit a table”Tables are always directly editable. Click into any part of an existing table to make changes.
The order of tables can be rearranged by clicking and dragging on the handle next to each table name.
 Version 1.0.6
Delete a table
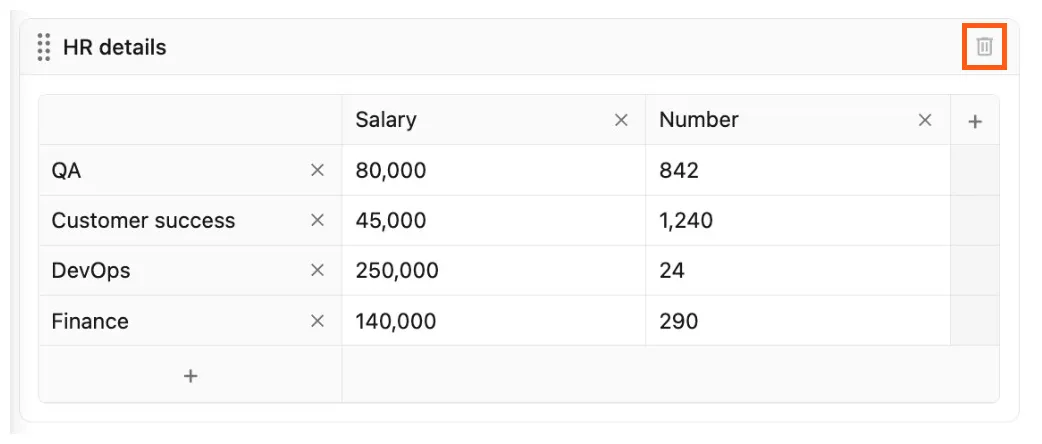
Section titled “Delete a table”Delete an existing table by clicking on the delete button at the top right corner of the table.
 Version 1.0.6